Wednesday, October 17, 2012

31 {More} Days of Pinterest: Day 8 Wrangling User Manuals

I know I'm really behind on posting what my projects have been. This is what happens when life happens, I guess.

Anyway. Here we go...

One of the projects that I've been meaning to do for years awhile is to get all the user manuals for the various electronics, tools, appliances, and whatevers all in one easy to use place. This does not mean in a random basket that gets covered with other stuff...which is where they've been for years awhile.

The original pin for this organization idea came from a pin I saw on Pinterest from Desiring Virtue. My first thought when I saw that was literally, "Well, DUH." I already have a binder that I keep all the "how to run the house" information in, and it works fine.

With that in mind, I found an empty binder, some sheet protectors, and got out the user manual basket.


Of course I had my normal supervisor, Dart, to keep watch.
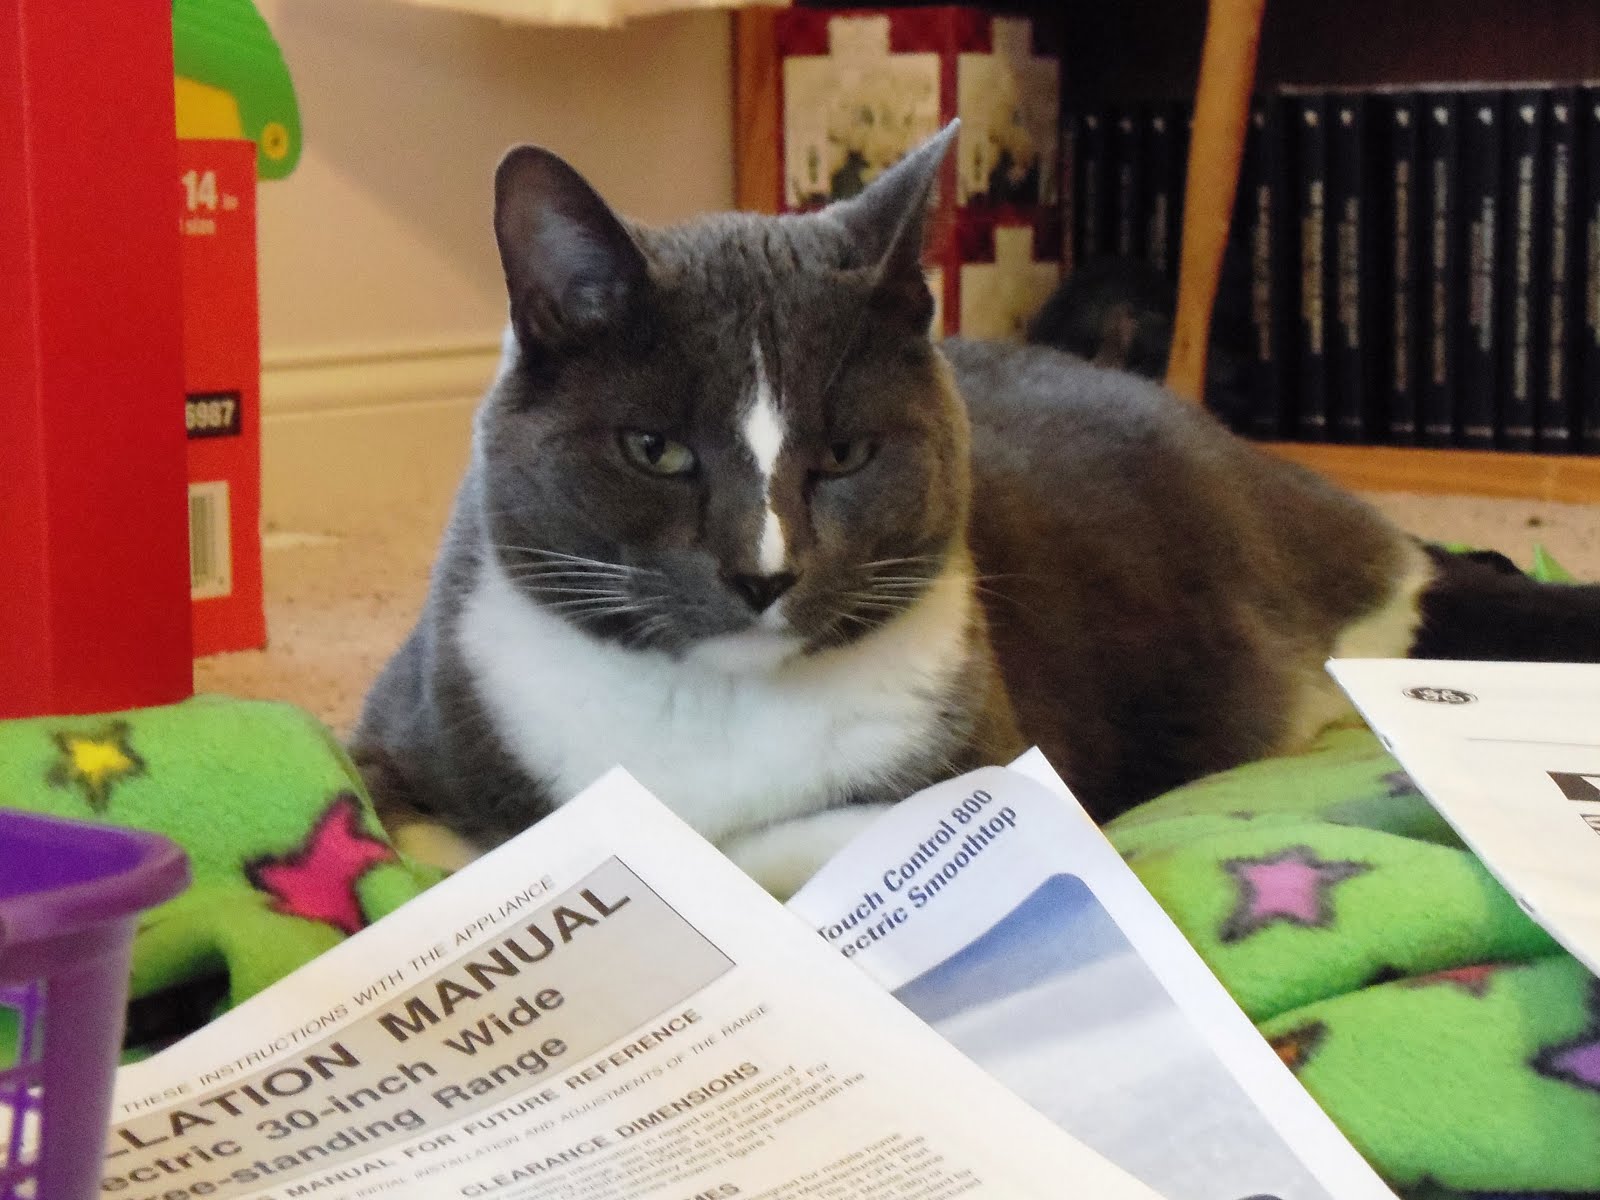

Then I got to work sorting them out, and trying to keep like with like.


Once I was done with that, I put the ones I was keeping in the sheet protectors, and recycled the rest. And there was quite a stack to be recycled.


Again, I kept like with like, but I didn't bother with using tab dividers or anything. Once I had them in order, I just put them in the binder.


Then just to be sure I'd remember what was in this binder, I made a quick cover sheet in Publisher and called it good. Now everyone in the family can find the user's manuals.


To see my other 31 {More}Days of Pinterest projects, click on the image below, and it will take you to my original post.


Monday, October 8, 2012

31 {More} Days of Pinterest: Day 7 Beadboard American Flag

I have a confession to make. I'm no artist. Wait, this isn't news?

I do, however, have a talent for mentally deconstructing someone else's projects and figuring out how to recreate them. Most of the time that's as far as it gets, but when I saw this beadboard flag at the Simply Kierste blog, I knew I could actually do this.

No, seriously. I had everything I needed downstairs in the basement.

I had lots of beadboard from when we built the house--it was used on the underside ceiling of the front porch:


I had the paint:


And I had the Frog Tape I love so very much.

I started by cutting a length of the beadboard to 3 sections of 16"x20", and hammered them together. The pieces are tongue and groove, but still need a bit of er, "persuading" every so often.

Once I got them together, they were kind of wobbly, so I nailed some 1" lattice on the back as stabilizers.


Although the pieces were the color that I wanted the base to be (kind of an off-white), it was outdoor paint. I hit it with some spray primer, then went over it with a couple of coats of Rustoleum's Heirloom White.

Once that had cured, I taped off the corner where I wanted the blue, and just started painting. I don't have any pictures because I inadvertently deleted them instead of saving them.
But the instructions on the original pin are very good, so follow them.

I cut out a reverse stencil of the star from cardstock, and held it in place when I painted the blue. I wasn't worried about crisp lines because that's not what this project is about. It's supposed to look like it's been around for awhile.

I also taped off the different rows of color because the blending of colors was bothering me. That added more time to the overall project because I couldn't tape on wet paint.

Here's the finished flag:


I'm undecided whether to leave it like this or to distress it with a palm sander. I'm not loving the shiny red, but maybe once I hit it with a good sanding it'll calm down some.

Start to finish, this was a approximately 4 hour project. Most of that was waiting for sections of paint to dry so I could tape off the next color and go.

To see my other 31 {More}Days of Pinterest projects, click on the image below, and it will take you to my original post.


31 {More} Days of Pinterest: Day 6 Using Borax to Clean Carpets

Well, during the 5 minutes I was waiting for the Microwave to be (mostly) self-cleaning, I went back to my "Clean ALL the Things!" Pinterest board to see about carpet spot cleaners.

There was one I'd pinned about a year ago for using Borax in a steam cleaner that was originally from a site called Love to Know, but on that same page was a recipe for mixing up a spot cleaner.

One thing about our carpet is that it's made of recycled pop bottles so theoretically stains are supposed to wick right off. In practice, though, not so much.

My home office is where the cats hang out with me when I'm working, and thus prone to all sorts of messes. Normally I use Nature's Miracle and/or Woolite Spot Shot, but I'm willing to give new things a try too. I tend to wait for a few spots to occur before using the Woolite because then I have to close up my office and the cats get cranky because their napping schedules get all messed up when they can't sleep in their normal places. Oh the things we do for our cats...

Here's the before:


And closer on one of the spots:


I got out all the ingredients I'd need:


It's an easy mixture to remember:

•¼ cup of salt
•¼ cup of borax
•¼ cup of vinegar


The instructions say to work it into the carpet, let it dry and vaccuum it up. So I did. Sort of.


I put it on, worked it in, and then went back to the microwave. Then a few hours later, once I remembered that I needed to vaccuum it up, I did.


Overall, it didn't get as much of the stain up as the Woolite would have, but it did OK.


To see my other 31 {More}Days of Pinterest projects, click on the image below, and it will take you to my original post.


31 {More} Days of Pinterest: Day 5 Cleaning a Microwave the Easy Way

It may seem like I'm pulling lots of projects off my "Clean ALL the Things!" Pinterest board, but these are things that I've wanted to try for some time. We have cats who like to "help" with projects, so I don't like using harsh chemicals when I don't have to, and the greener cleaners are always worth a shot.

This past weekend I tried more, with varying results.

The first one I did on Friday night was to attempt to clean the microwave using the hot water/vinegar trick.

And oh my goodness, it sure needed it.


I seriously cringed when I saw those...

ANYWAY.

The original pin came from the blog Crafty Little Gnome, and when I read their instructions, I thought, "I can do that. Easy."

I'd like to go on record as saying that if my life had a soundtrack playing so that I could hear it, this would've been the moment where the music got ominous in that, "THIS IS NOT GOING TO GO WELL" kind of way.

First, I assembled my supplies.


See what I mean? TWO THINGS. How could this go wrong?

So, I put the bowl of hot water and a glug of vinegar in the microwave:


I set the timer for 5 minutes:


And then I walked away.

When the timer went off, I came back.


It was time to wipe all the crud off. Yep.


Problem was, the crud didn't get the memo that it was supposed to be easy to wipe away. I put the bowl back in and set it for another 5 minutes:


This time didn't work much better, even with a plastic scrubby thing. I added some Barkeeper's Friend to the scrubber and went to it.


After a few eternities minutes, it was better:


I worked on it for awhile, and called it good.


I'm pretty sure this wasn't as magic as I'd hoped it would be for a combination of reasons. It's an OLD microwave, and it'd been awhile since it'd really been cleaned. Maybe if the crud hadn't been fossilized things would have worked better. I know it's not going to go like this for everyone, and I do believe in the power of steam cleaning. In this case, I'd have needed a steam ENGINE worth of steam, but hey.

Eh, win some, lose some, call a draw on the rest.

To see my other 31 {More}Days of Pinterest projects, click on the image below, and it will take you to my original post.


Thursday, October 4, 2012

31 {More} Days of Pinterest: Day 4 Elegant Monogram

When it comes to making art for around the house, I have two requirements: one--that I don't have to actually draw anything, and two--that I can do it for not a whole lot of money.

This project was both of those, with a side of simple. It comes from my Pinterest board "Inspiration" because when I first saw it, I liked it but was going to use it more as a springboard for a project that was closer to what I was looking for.

I love love love The Graphics Fairy. I could probably (and actually might already have) spend lots of hours browsing through the extensive collection of images...which are all FREE.

Free?

FREE.

I can't remember what in the world I was searching for when I came across this image:

(Originally from The Graphics Fairy)


I bookmarked it for later, then forgot about it, as I do.

When I was going through some of my bookmarks and saved things, I rediscovered it and figured I'd better do something with it, otherwise I'd lose it again.

I like the bee well enough, but I thought it would look good with a letter "E" too. I kind of knew I wanted a font that was very flowing and elegant, especially since I was going to put it in a more ornate frame in our formal entryway.

To get rid of the bee, I opened it up in Paint and basically colored over it with white. Then I saved it again as just the wreath.


Then I opened a Microsoft Publisher document, imported the picture, and went to work trying out different fonts. This would probably be easier in Photoshop or something, but I work with what I have...and what I have isn't terribly high-tech.

The font I finally decided on was Edwardian Script ITC, which I honestly can't remember whether or not it came with the Microsoft stuff or if I had to download it from somewhere. You can find it (for free) at www.azfonts.com
--this link will take you directly to the Edwardian Script ITC download page.

When I had chosen the font, I created a text box to put it in so that I could move the text box around within the wreath to balance the weight of the picture instead of relying on the automatic centering. I used a 325 font size to make it big enough.

After it was all done, I just printed it straight from Publisher on everyday copy paper, but here's what it looked like:


I put it in the frame, which I'd picked up at a Goodwill for under $2:


And hung it on the wall:


It probably took me longer to choose and size the font than it did for the rest of the project. But it looks like it's always been there, which is my lithmus test for how well things blend in around here.

To see my other 31 {More}Days of Pinterest projects, click on the image below, and it will take you to my original post.


Wednesday, October 3, 2012

31 {More} Days of Pinterest: Day 3 Explosive Showerhead Cleaner

I know that cleaning with vinegar and baking soda will always entertain me so long as the bubbling is going on, but I wondered if the combination could really beat the crud on the showerhead.

So I decided to give it a whirl and see what happened.

Here's the original pin from my Pinterest board, "Clean All the Things":

( Originally from Frugally Sustainable)

Here's the before:


ICK.

I assembled the ingredients needed:


I used 1/3 cup of baking soda, 1 cup of vinegar, a ziplock plastic bag, and I grabbed a longer twist-tie that one of our cats play with (she wasn't happy, but I gave it back later that day, so she's fine now).

A few things that are handy to know BEFORE you're trying to get this all together:

  1. When you're combining the baking soda and vinegar, do it over a sink.
  2. When you're combining the baking soda and vinegar over said sink, do it slooooowwwwwly. SLOWER.
  3. When you're combining the baking soda and vinegar over said sink, slowly, try not to get the resulting mixture into any open cuts on your hands, because you will have to fight the urge to swear like a sailor.

Learn from my mistakes, people. I'm just here providing the bad example for you all to learn from.

Once you get everything all put together, put it over the showerhead and crank down the twist tie so it stays put, with the showerhead fully submerged.


Now leave it there for at least 2-3 hours, maybe longer if you forget it's on there (like me). After you take off the baggie, wipe off the showerhead and marvel at the fact it actually worked.


I have to say, I'm impressed. Except for the part where I added the vinegar too fast and the part where I got the mixture into that open cut I didn't even know that I had. Those weren't my favorite parts.

To see my other 31 {More}Days of Pinterest projects, click on the image below, and it will take you to my original post.


Tuesday, October 2, 2012

31 {More} Days of Pinterest: Day 2 Hot Ham & Cheese

It's no secret that I'm not much of a cook. When the rest of my family is gone, I'm happy eating Cheerios for breakfast, lunch, and dinner.

My husband, however, does not share the same love of cereal as an all-purpose meal. Luckily for him, he actually likes to cook. When it's my turn to make dinner, though, I opt for something fairly quick and easy, like these hot ham and cheese hot-pockety kind of things.

Here's the picture from my Pinterest board, "Yum":


(Originally from: Cooking4Carnivores )

I can assure you mine are not that pretty, nor do they have as much filling stuff in them. They taste good, though.

Here's what you need:


Yep. Three things. Like I said, I go for easy. You can add lots more to it all, but these three ingredients will do the trick.

First take out the Crescent Rolls and divide them up so that they're in squares, not triangles.


Then layer on your ham and cheese. We got shredded cheese this time, but we've successfully used sliced cheddar as well.


Then you can roll them up like in the original picture, or you can pinch the edges together, kind of like a calzone. Steve doesn't care if things are falling out of his, but I like mine to be all enclosed. It also helps in the identifying of whose is whose, especially since he does like to add additional fillings to his.


We just bake it on whatever the temperature and times are on the Crescent Roll package--I think around 10 minutes work best, but definitely check on them and flip them as needed.

Then it's dinner time! If I've had to work late, paper plates it is. You can eat these with your hands, but I tend to end up burning my fingers, so I just use a fork.


Like I said-quick and easy. The best kind of dinner, especially after a long day at work, or when you need to make something fast for on the go.

To see my other 31 {More}Days of Pinterest projects, click on the image below, and it will take you to my original post.