Showing posts with label cleaning. Show all posts

Wednesday, October 17, 2012

31 {More} Days of Pinterest: Day 10 Easy Tub Cleaner

Like I said before, I really don't like cleaning the bathroom. But the thing that I REALLY don't like cleaning is the bathtub.

So when I saw this pin on Pinterest from The Craft Patch, it was right up my alley.


Spray the cleaner on, come back in an hour, and wipe it down? Yes, please.

Since I had all the things already out for my Shower Scrubber project, I found an empty spray bottle and made a bigger batch.

I started with the vinegar:


Then I added the Dawn dishsoap:


I shook it up to mix it a bit better, and opened the shower curtain. Warning: These before pictures are not edited. Seriously. ICK.


So, I sprayed the solution ALL OVER THE TUB.


And then I walked away. Yep. At that point I didn't know if this would work, but I'd come too far to go back, so I figured I'd just see it through.

Thing is, I forgot about it.

I actually came back over FIVE hours later. I had to re-spray some sections, but it worked. IT WORKED!!!!

Here's an un-edited photo of the after:


AMAZING.

Next time I won't spray quite so much cleaner at a time. When I was trying to rinse the tub, the bubbles from the dishsoap were ridiculous. Also, on problem areas, I might take the shower scrubber and give them a good once over.

To see my other 31 {More}Days of Pinterest projects, click on the image below, and it will take you to my original post.



31 {More} Days of Pinterest: Day 9 Shower Cleaning Done Easy

I seriously hate cleaning the bathroom. I don't know why that is, considering how happy it makes me when it is clean, but there you go.

When I saw this pin on Pinterest I thought it made sense.


Sometimes I can think outside the box. Sometimes I can't. I probably wouldn't have looked at this and thought, "Oh, hey-I can clean the shower with that." That's the beauty of it all...someone else can be brilliant and I can say, "Duh."

Anyway, I got out the vinegar, Dawn dishsoap, and my new dish scrubber thing to figure this out.


The mix is 1:1 of vinegar and Dawn dish soap. Everything I read said that the original Dawn was the best, and considering I had no other frame of reference, I just followed the directions.

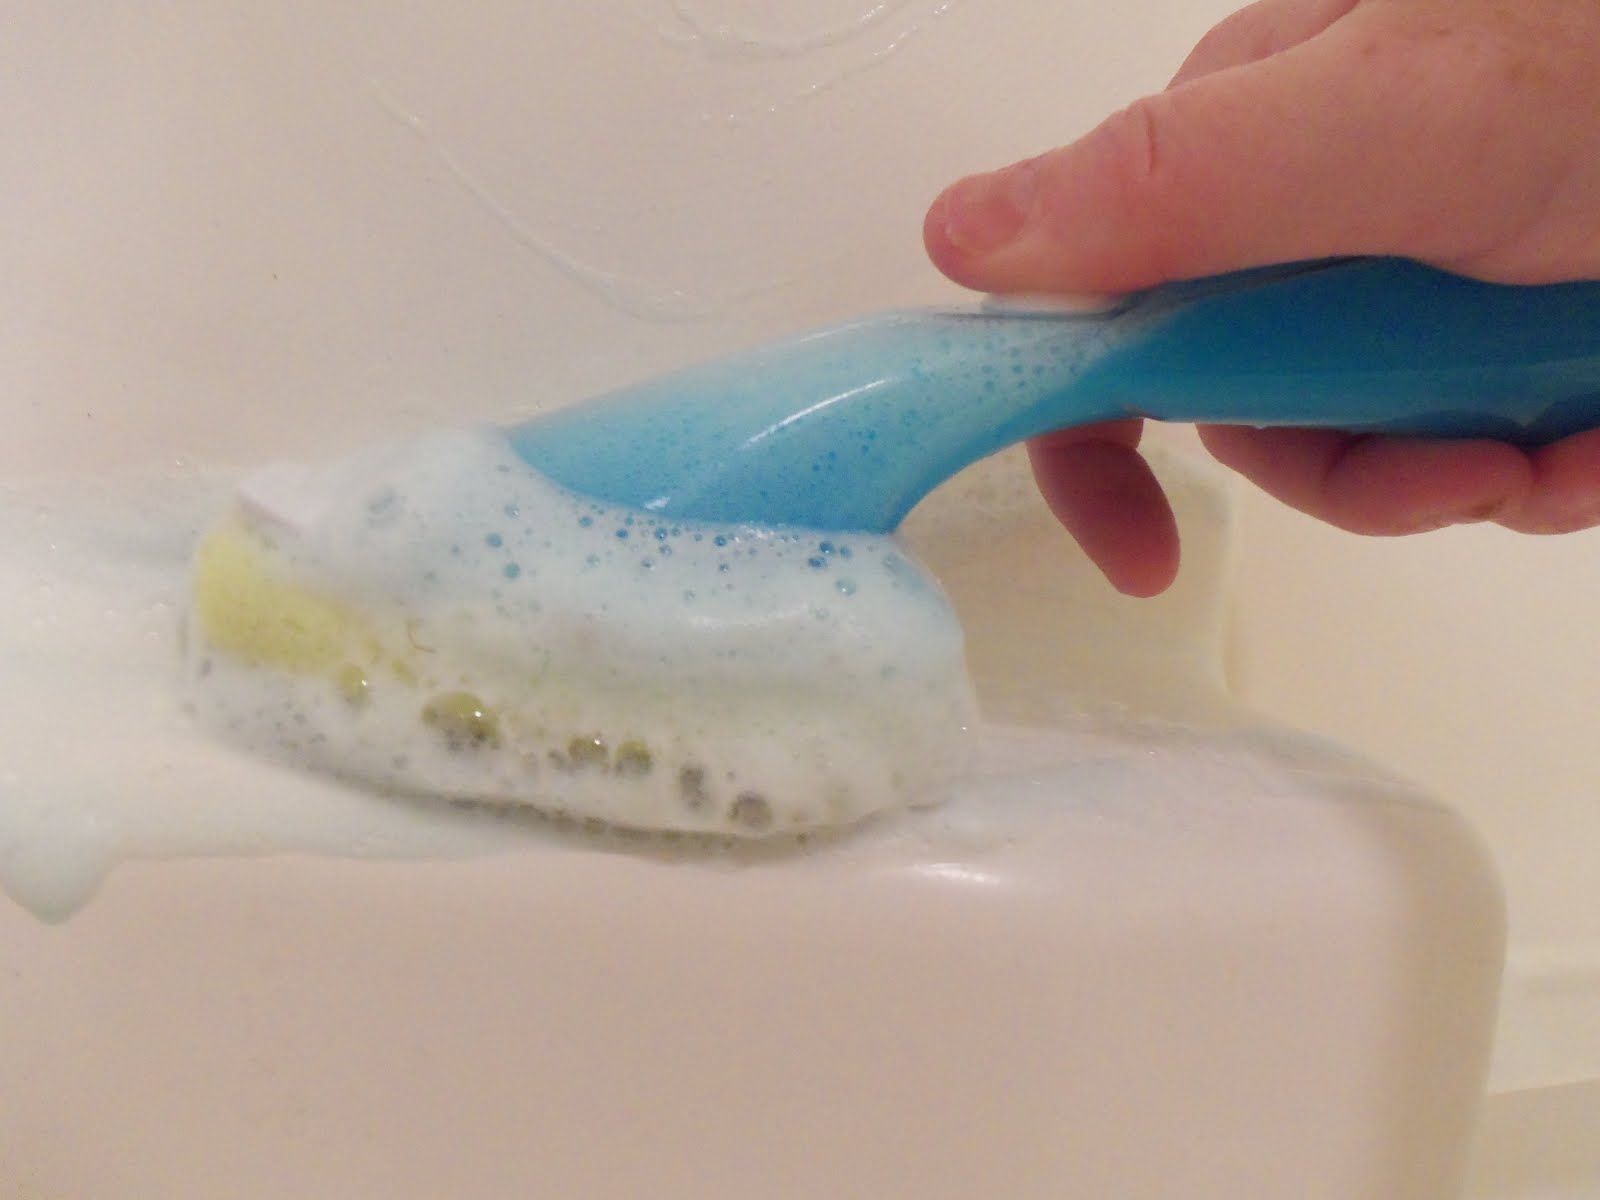
I put it in the handle and went to work.


And WOW. It works! I think I'd do a couple of things differently next time. First, I'd only put in what I was intending to use, because I can't figure out how to make it stop oozing out of the scrubber. Second, I'd spray the wall of the shower first and let it set for awhile THEN spray it.

For as much as I don't like the initial smell of vinegar, and as much as I don't particularly care for the scent of original Dawn, this one's a winner.

To see my other 31 {More}Days of Pinterest projects, click on the image below, and it will take you to my original post.


Monday, October 8, 2012

31 {More} Days of Pinterest: Day 6 Using Borax to Clean Carpets

Well, during the 5 minutes I was waiting for the Microwave to be (mostly) self-cleaning, I went back to my "Clean ALL the Things!" Pinterest board to see about carpet spot cleaners.

There was one I'd pinned about a year ago for using Borax in a steam cleaner that was originally from a site called Love to Know, but on that same page was a recipe for mixing up a spot cleaner.

One thing about our carpet is that it's made of recycled pop bottles so theoretically stains are supposed to wick right off. In practice, though, not so much.

My home office is where the cats hang out with me when I'm working, and thus prone to all sorts of messes. Normally I use Nature's Miracle and/or Woolite Spot Shot, but I'm willing to give new things a try too. I tend to wait for a few spots to occur before using the Woolite because then I have to close up my office and the cats get cranky because their napping schedules get all messed up when they can't sleep in their normal places. Oh the things we do for our cats...

Here's the before:


And closer on one of the spots:


I got out all the ingredients I'd need:


It's an easy mixture to remember:

•¼ cup of salt
•¼ cup of borax
•¼ cup of vinegar


The instructions say to work it into the carpet, let it dry and vaccuum it up. So I did. Sort of.


I put it on, worked it in, and then went back to the microwave. Then a few hours later, once I remembered that I needed to vaccuum it up, I did.


Overall, it didn't get as much of the stain up as the Woolite would have, but it did OK.


To see my other 31 {More}Days of Pinterest projects, click on the image below, and it will take you to my original post.


31 {More} Days of Pinterest: Day 5 Cleaning a Microwave the Easy Way

It may seem like I'm pulling lots of projects off my "Clean ALL the Things!" Pinterest board, but these are things that I've wanted to try for some time. We have cats who like to "help" with projects, so I don't like using harsh chemicals when I don't have to, and the greener cleaners are always worth a shot.

This past weekend I tried more, with varying results.

The first one I did on Friday night was to attempt to clean the microwave using the hot water/vinegar trick.

And oh my goodness, it sure needed it.


I seriously cringed when I saw those...

ANYWAY.

The original pin came from the blog Crafty Little Gnome, and when I read their instructions, I thought, "I can do that. Easy."

I'd like to go on record as saying that if my life had a soundtrack playing so that I could hear it, this would've been the moment where the music got ominous in that, "THIS IS NOT GOING TO GO WELL" kind of way.

First, I assembled my supplies.


See what I mean? TWO THINGS. How could this go wrong?

So, I put the bowl of hot water and a glug of vinegar in the microwave:


I set the timer for 5 minutes:


And then I walked away.

When the timer went off, I came back.


It was time to wipe all the crud off. Yep.


Problem was, the crud didn't get the memo that it was supposed to be easy to wipe away. I put the bowl back in and set it for another 5 minutes:


This time didn't work much better, even with a plastic scrubby thing. I added some Barkeeper's Friend to the scrubber and went to it.


After a few eternities minutes, it was better:


I worked on it for awhile, and called it good.


I'm pretty sure this wasn't as magic as I'd hoped it would be for a combination of reasons. It's an OLD microwave, and it'd been awhile since it'd really been cleaned. Maybe if the crud hadn't been fossilized things would have worked better. I know it's not going to go like this for everyone, and I do believe in the power of steam cleaning. In this case, I'd have needed a steam ENGINE worth of steam, but hey.

Eh, win some, lose some, call a draw on the rest.

To see my other 31 {More}Days of Pinterest projects, click on the image below, and it will take you to my original post.


Wednesday, October 3, 2012

31 {More} Days of Pinterest: Day 3 Explosive Showerhead Cleaner

I know that cleaning with vinegar and baking soda will always entertain me so long as the bubbling is going on, but I wondered if the combination could really beat the crud on the showerhead.

So I decided to give it a whirl and see what happened.

Here's the original pin from my Pinterest board, "Clean All the Things":

( Originally from Frugally Sustainable)

Here's the before:


ICK.

I assembled the ingredients needed:


I used 1/3 cup of baking soda, 1 cup of vinegar, a ziplock plastic bag, and I grabbed a longer twist-tie that one of our cats play with (she wasn't happy, but I gave it back later that day, so she's fine now).

A few things that are handy to know BEFORE you're trying to get this all together:

  1. When you're combining the baking soda and vinegar, do it over a sink.
  2. When you're combining the baking soda and vinegar over said sink, do it slooooowwwwwly. SLOWER.
  3. When you're combining the baking soda and vinegar over said sink, slowly, try not to get the resulting mixture into any open cuts on your hands, because you will have to fight the urge to swear like a sailor.

Learn from my mistakes, people. I'm just here providing the bad example for you all to learn from.

Once you get everything all put together, put it over the showerhead and crank down the twist tie so it stays put, with the showerhead fully submerged.


Now leave it there for at least 2-3 hours, maybe longer if you forget it's on there (like me). After you take off the baggie, wipe off the showerhead and marvel at the fact it actually worked.


I have to say, I'm impressed. Except for the part where I added the vinegar too fast and the part where I got the mixture into that open cut I didn't even know that I had. Those weren't my favorite parts.

To see my other 31 {More}Days of Pinterest projects, click on the image below, and it will take you to my original post.


Monday, October 1, 2012

31 {More} Days of Pinterest: Day 1 Aluminum Foil as Dryer Sheet


Am I ready to get this 31 Day party started? You bet I am!
Are you ready too?

Sometimes my life and Pinterest intersect in serendipitous ways. Like when I completely forget to write something on the shopping list and realize at 1 a.m. that I don't have whatever it was, but that I kind of need it...right now.

In this case, I was finishing up the last load of laundry of the day, and realized that I was out of fabric softener sheets. I vaguely remembered that I'd pinned something in my "Clean ALL the Things!" board (bonus points if you know what that references...) that was a non-fabric softener thing that went into the dryer.

This is what it was:

Aluminum Foil as Dryer Sheet from Apartment Therapy.


Well, now. It's worth a shot, right? Worst case I'd have to live with static cling and shocking myself on various household objects. Best case I'd be OK until I was able to go to the store.

So, I went to the kitchen and got the aluminum foil.


Then I read some of the comments on the original article on how to actually make the thing. I figured 3 about equal sheets should do the trick.


I rolled one into a ball, then put it on the next sheet, rolled both of them together, then added the third.


Then I squished them all together to make a ball shape.


I tossed it in on top of the laundry, closed the door, set the timer, and hoped for the best.


And it worked! I know, I'm always a little surprised at how such an easy thing can work so well.

I've been using that original foil ball for about a week now, and it's gotten smaller as it's gotten more compacted. One thing I have noticed is that as the week has gone on, it's effectiveness has waned a bit, but maybe that's just because the size has gotten smaller. I did another one tonight and tossed it in the dryer along with the original one, so maybe that will help. Other than that, though, I'm happy with the results. And, best of all, the aluminum foil can be recycled when I'm done with it.


To see my other 31 {More}Days of Pinterest projects, click on the image below, and it will take you to my original post.

Friday, March 9, 2012

Use It or Lose It

Once upon a time, I cleared out and repainted the upstairs storage closet (also known around here as 'The Storage Closet of Doom' for good reason).

It was all organized and pretty. I could walk in and out without fear I'd be buried in crap treasures:


Sadly, it doesn't look like that anymore. No, now it's even worse than it was before I re-painted it in 2010. The level of stuff is waist-deep on me (I'm only 5'0", so yes, it's not SUPER deep, but it's deep enough, thanks).

See?


Now, this has been bothering me for a couple of months, but I rationalized it by saying, "Eh, either the space that I want to put (insert item name here) in isn't ready for it, or I can't paint it yet. No big deal. It can wait."

Well, that was super great...until I actually needed something out of the closet. The BACK of the closet. And to get to it, I had to make a path. As I was taking yet another armload of treasures out, I realized 1) How much stuff was actually IN that closet, and 2) What a great job I'd done getting it all to fit. (Or something like that. Work with me here.)

In January, one of my favorite blogs, Young House Love had a post talking about the same issue: A Strange Self-Imposed Challenge. They said the same thing I said: Stop hoarding things, start using them (I'm paraphrasing here). They're doing a "Dude, Get On That Already" series with their treasures. It inspired me to get cracking on my hoard
treasures too.

It's time to go through the piles and make a decision on each thing. If I wait for the perfect place/time to use these things, well, that's never going to get here. A home is always a work in progress...well, at least for me. Steve is a trooper for putting up with my always changing things, and I know he's secretly relieved when Home Improvement Season is done for the year.

So, with that, it's Use It or Lose It time.

Let the Games begin.