Wednesday, October 19, 2011
31 Days of Pinterest: Day 17 Beadboard Art Clip Holder thingy
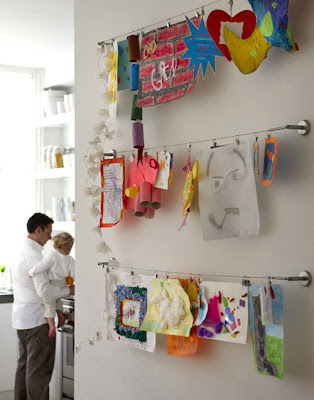
I'm not sure what exactly to call this, besides a pretty easy way to display art on a rotating basis. So, we'll just go with "Beadboard Art Clip Holder thingy", unless someone can come up with a better name.
I wanted something like this in the laundry room both as a trial run, and because it'd help finish the room off.
This is a combination of a few ideas I've seen around the Internet.
I like the look of the IKEA Diginet wire with clips look:
(found on The Daily Buzz)
I also like the look of using something more natural, like clothesline or twine and clothespins:
(found on The View From Here)
But I wanted something neutral colored between the pictures/art/whatever that I put up and the wall, which is a light aqua blue. When I found this pin, I knew it would work--and even better, I had everything I needed on hand to make it.
(via the {This is Glamorous} blog)
I went in the basement to scope out our leftover beadboard from the wraparound porch ceiling.
There was one that was shorter than the rest, and I only needed 2 pieces that measured about 36" each, so I checked to make sure it was fairly straight.
Then I measured and made my cuts and lined the 2 pieces up to be sure everything was hunky-dory.
After that, it was time to put the 2 pieces together. This kind of beadboard is a tongue and groove design, so it should be as easy as putting them together. Mostly it is, but these 2 pieces needed a little bit of persuasion with a hammer.
In the past when I've used this beadboard to make things with, I've either glued the pieces together as insurance or nailed some braces made of lattice on the back. In this case, I'm just playing the odds and hoping it holds.
The paint that was on the boards already almost matches the trim throughout the house, but was a little dirty, so I gave it a quick once-over with some Rustoleum spray paint in Heirloom White and let it dry overnight. I didn't bother priming it first because it was more to make it uniform in color without a lot of fuss.
The next day I drilled some pilot holes for the longer screws I was going to use. They're cabinet screws, so I know they'll hold this up just fine.
Then I made sure it was level before screwing it in tight.
I drilled some pilot holes for the cup hangers and screwed those in.
I didn't measure how far apart to put the holes; I just made sure they were on the same level.
Then it was time to get the binder clips and some art on there.
These are pictures from a 2009 Art page-a-day calendar that I liked. I love that I can change out the art whenever I want without having to mess around with a frame.
To see my other 31 Days of Pinterest projects, click on the image below, and it will take you to my original post.
Subscribe to:
Post Comments (Atom)


No comments:
Post a Comment